Map APIs and How To Add Custom Markers
There are so many applications out there that, in one way or another, make use of the map functionality. And when it comes to adding maps to a Flutter app, the number of API options available may surprise you; from Flutter Maps to Google Maps, and even OpenStreetMap integrations. Despite its costs, I prefer Google Maps, but let’s see a breakdown.
Flutter Maps vs. Google Maps vs. Other Map APIs
Flutter Maps (flutter_map)
Flutter Maps is a versatile, open-source map API that works well for basic or small-scale. It supports a range of providers like OpenStreetMap, Mapbox, and Bing Maps. The biggest benefit? It’s free (and easy to use). However, advanced features like custom markers, real-time traffic data, or smooth animations, which make your app look professional and well-rounded, are unfortunately not supported.
Google Maps
Google Maps is, by far, one of the most robust and widely used map APIs for Flutter. It offers real-time traffic updates, street view, and satellite imagery. It is easy to use and has the best and most detailed global data accuracy.
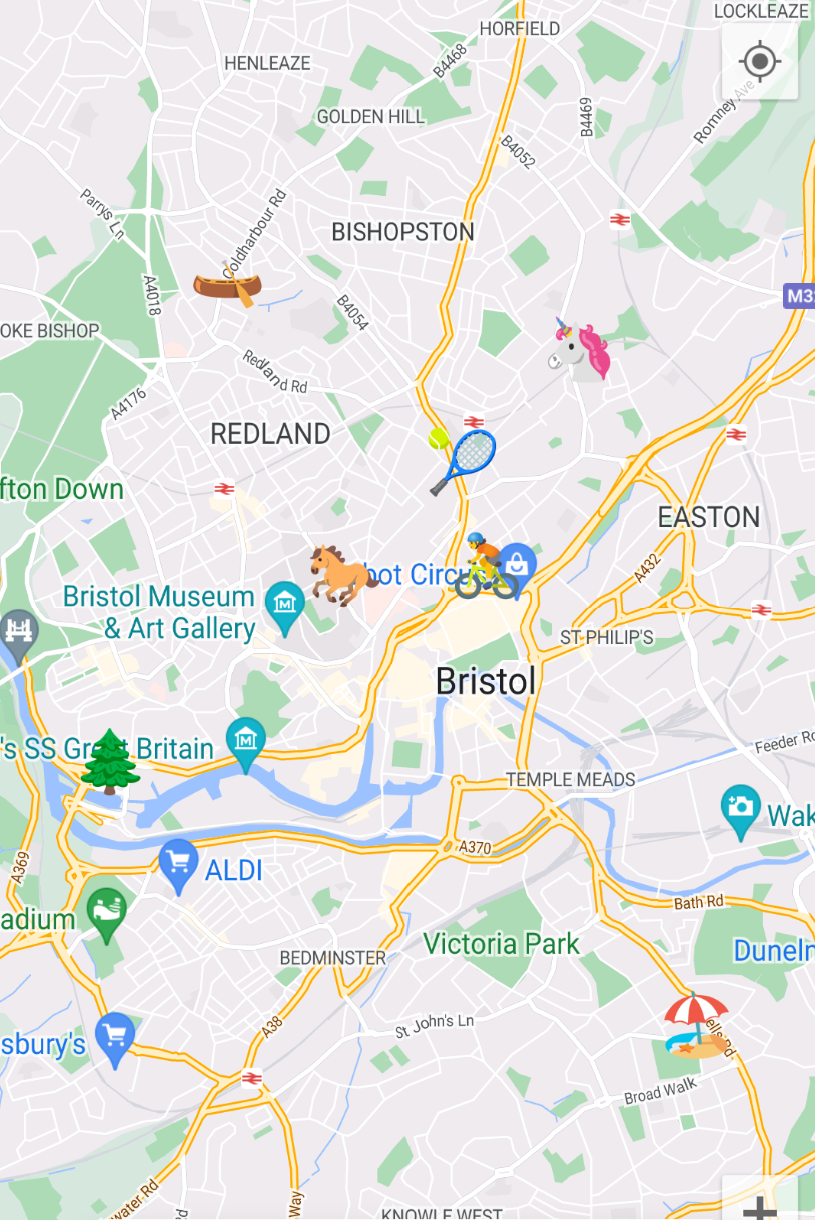
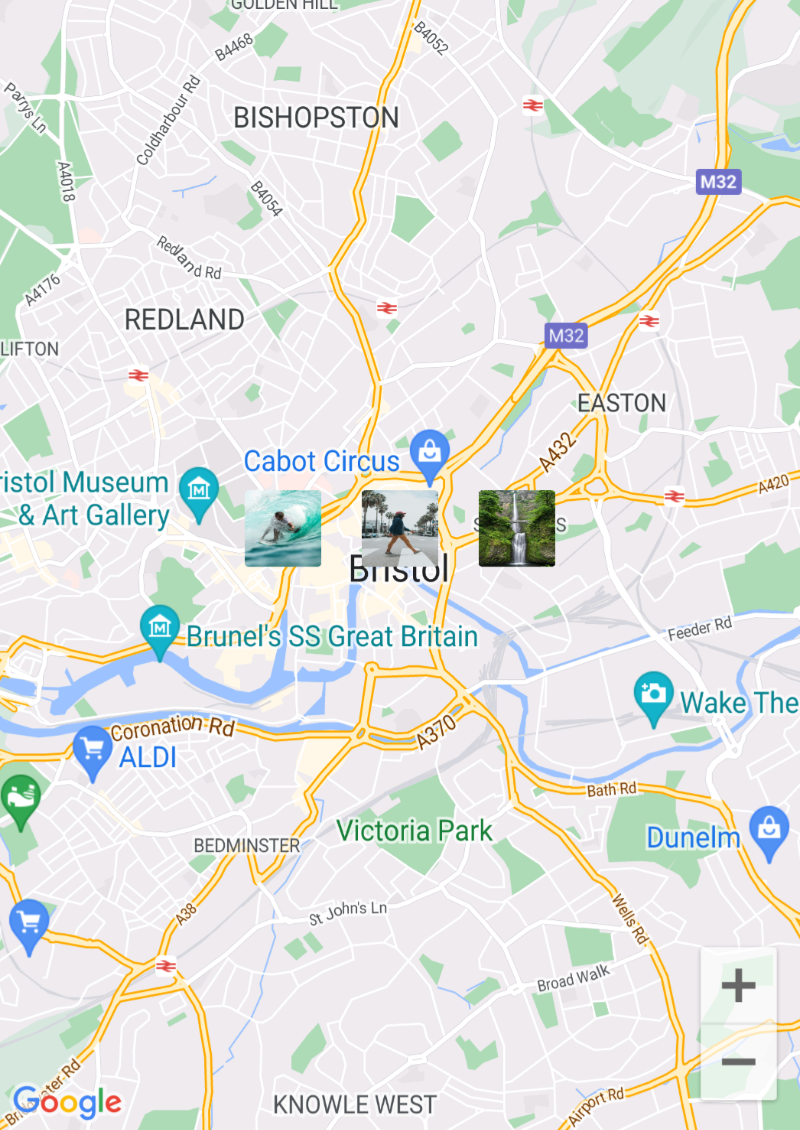
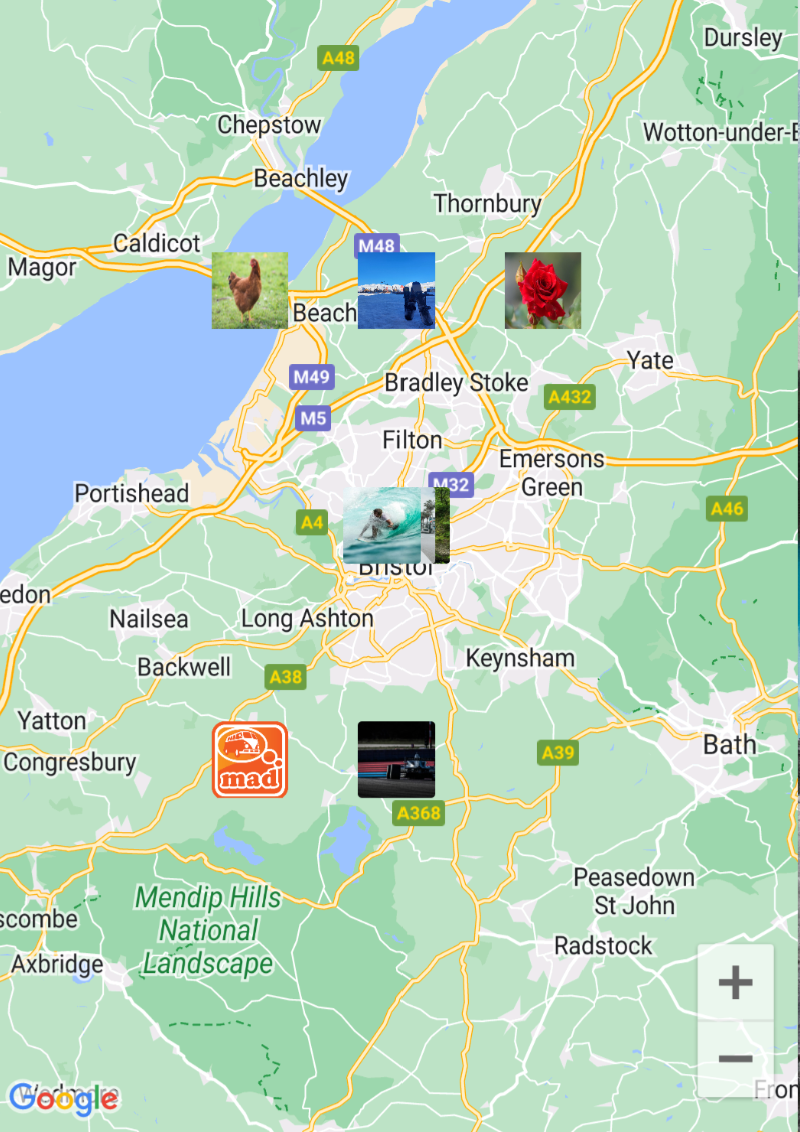
Most importantly, it allows you to add custom markers with a lot of flexibility—whether you’re adding images, emojis, or even custom text to your markers. Unfortunately, Flutter doesn’t offer a direct method to do this easily, so keep reading for my workaround and example code.
The downside? You’ll need to set up billing since it’s a paid service after a certain threshold - the Maps SDK offers 100,000 free map loads per month, which in my experience is enough for small-scale projects.
Top Tip: it is also cross-platform, so the performance across iOS and Android makes the cost worthwhile. For this, make sure to use platform_maps_flutter. You can also pair it up with the OpenCage Geocode API to allow users to easily search for places, and to convert coordinates to a String {city}, {country}.
Other Map APIs
Mapbox is another popular alternative, offering beautiful visual styling and customization options. It’s ideal if you need highly customizable map tiles or specific geographical data.

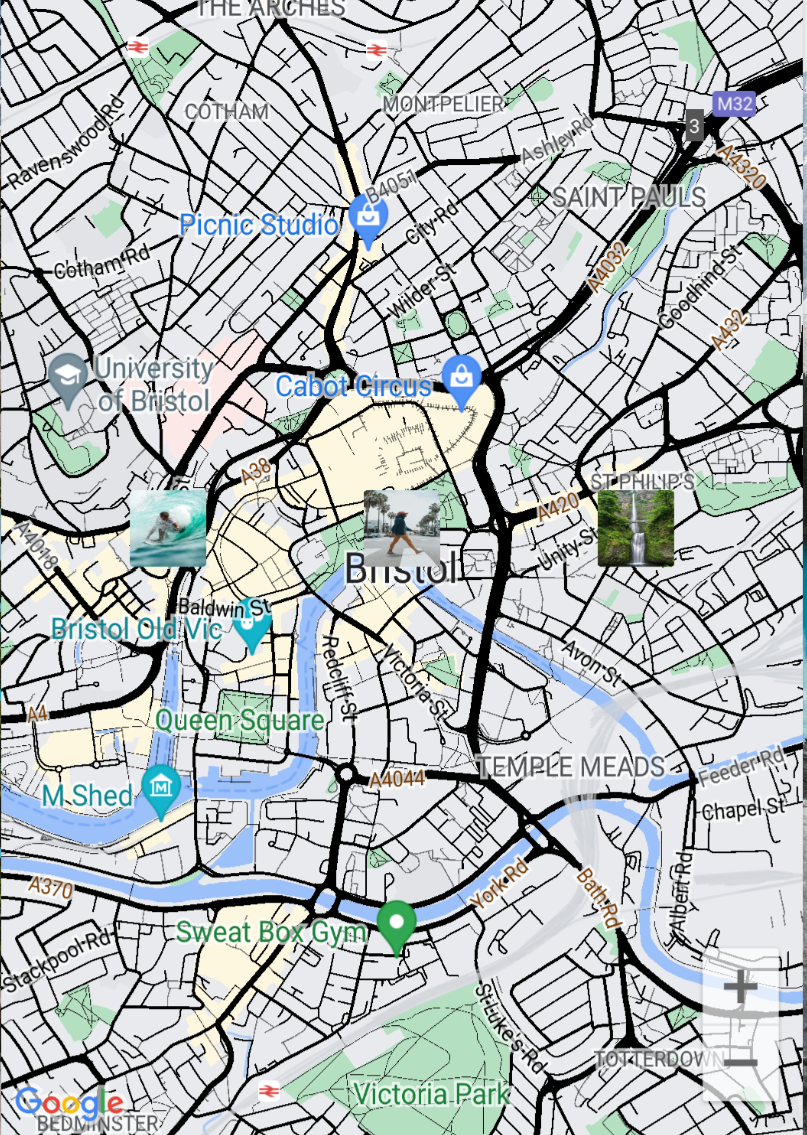
Warning: if you ever get the weird black lines as streets on the Emulator on flutter_google_maps, don’t worry. When the zoom goes above 13, these appear, but should go away once you test it on a real device.
How To Add Custom Markers to Google Maps in Flutter
Now, let’s get to the fun part: customizing your markers! Whether you want to add emojis, images, or even custom text, here’s a solution that will get the job done.
1
2
3
4
5
6
7
8
9
10
11
12
13
14
15
16
17
18
19
20
21
22
23
24
25
26
27
28
29
30
31
32
33
34
35
36
37
38
39
40
41
42
43
44
45
46
47
48
49
50
51
52
53
54
55
56
57
58
59
import 'package:flutter/material.dart';
import 'dart:ui' as ui;
import 'package:flutter/services.dart';
import 'package:google_maps_flutter/google_maps_flutter.dart';

// Function to generate BitmapDescriptor without text overlay
Future<BitmapDescriptor> textOrImageToBitmapDescriptorWithText(
  // Dynamic input allws us to paint image, emoji and String
  dynamic input, {
  TextStyle? textStyle,
  int width = 300,
  int height = 300,
}) async {
  final ui.PictureRecorder recorder = ui.PictureRecorder();
  final Canvas canvas = Canvas(recorder);

  // Check if the input is an image path (supports .png, .jpg, .jpeg)
  if (input is String &&
      (input.endsWith('.png') ||
          input.endsWith('.jpg') ||
          input.endsWith('.jpeg'))) {
    final ByteData data = await rootBundle.load(input);
    final Uint8List bytes = data.buffer.asUint8List();

    final ui.Codec codec = await ui.instantiateImageCodec(bytes,
        targetWidth: width, targetHeight: height);
    final ui.FrameInfo frameInfo = await codec.getNextFrame();
    final ui.Image img = frameInfo.image;

    // Draw the image onto the canvas
    canvas.drawImageRect(
      img,
      Rect.fromLTWH(0, 0, img.width.toDouble(), img.height.toDouble()),
      Rect.fromLTWH(0, 0, width.toDouble(), height.toDouble()),
      Paint(),
    );
  } else if (input is String) {
    // Assume input is text (e.g. an emoji or String)
    final TextPainter painter = TextPainter(
      textDirection: TextDirection.ltr,
      textAlign: TextAlign.center,
    );
    painter.text = TextSpan(
      text: input,
      style: textStyle ?? TextStyle(fontSize: 150.0, color: Colors.black),
    );
    painter.layout();
    painter.paint(canvas,
        Offset((width - painter.width) / 2, (height - painter.height) / 2));
  }

  // Convert the canvas into an image and create the BitmapDescriptor
  final ui.Image image = await recorder.endRecording().toImage(width, height);
  final ByteData? byteData =
      await image.toByteData(format: ui.ImageByteFormat.png);
  final Uint8List uint8List = byteData!.buffer.asUint8List();

  return BitmapDescriptor.bytes(uint8List);
}
For the full runnable example, visit my gist.